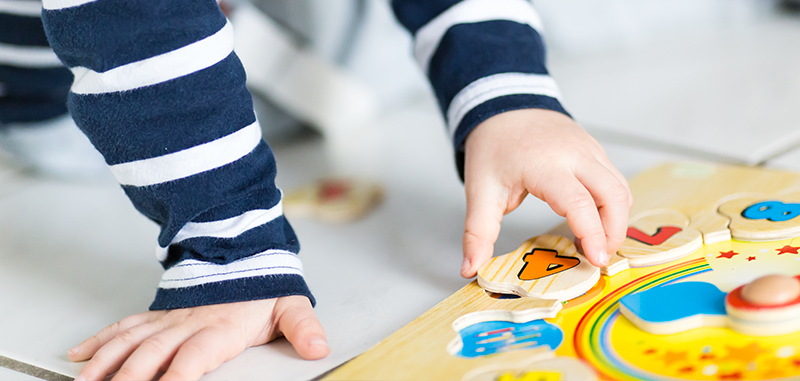
How to learn to tell the time to your child?
-
Categories :
Child Sleep
, Parents Corner

Super Fun!
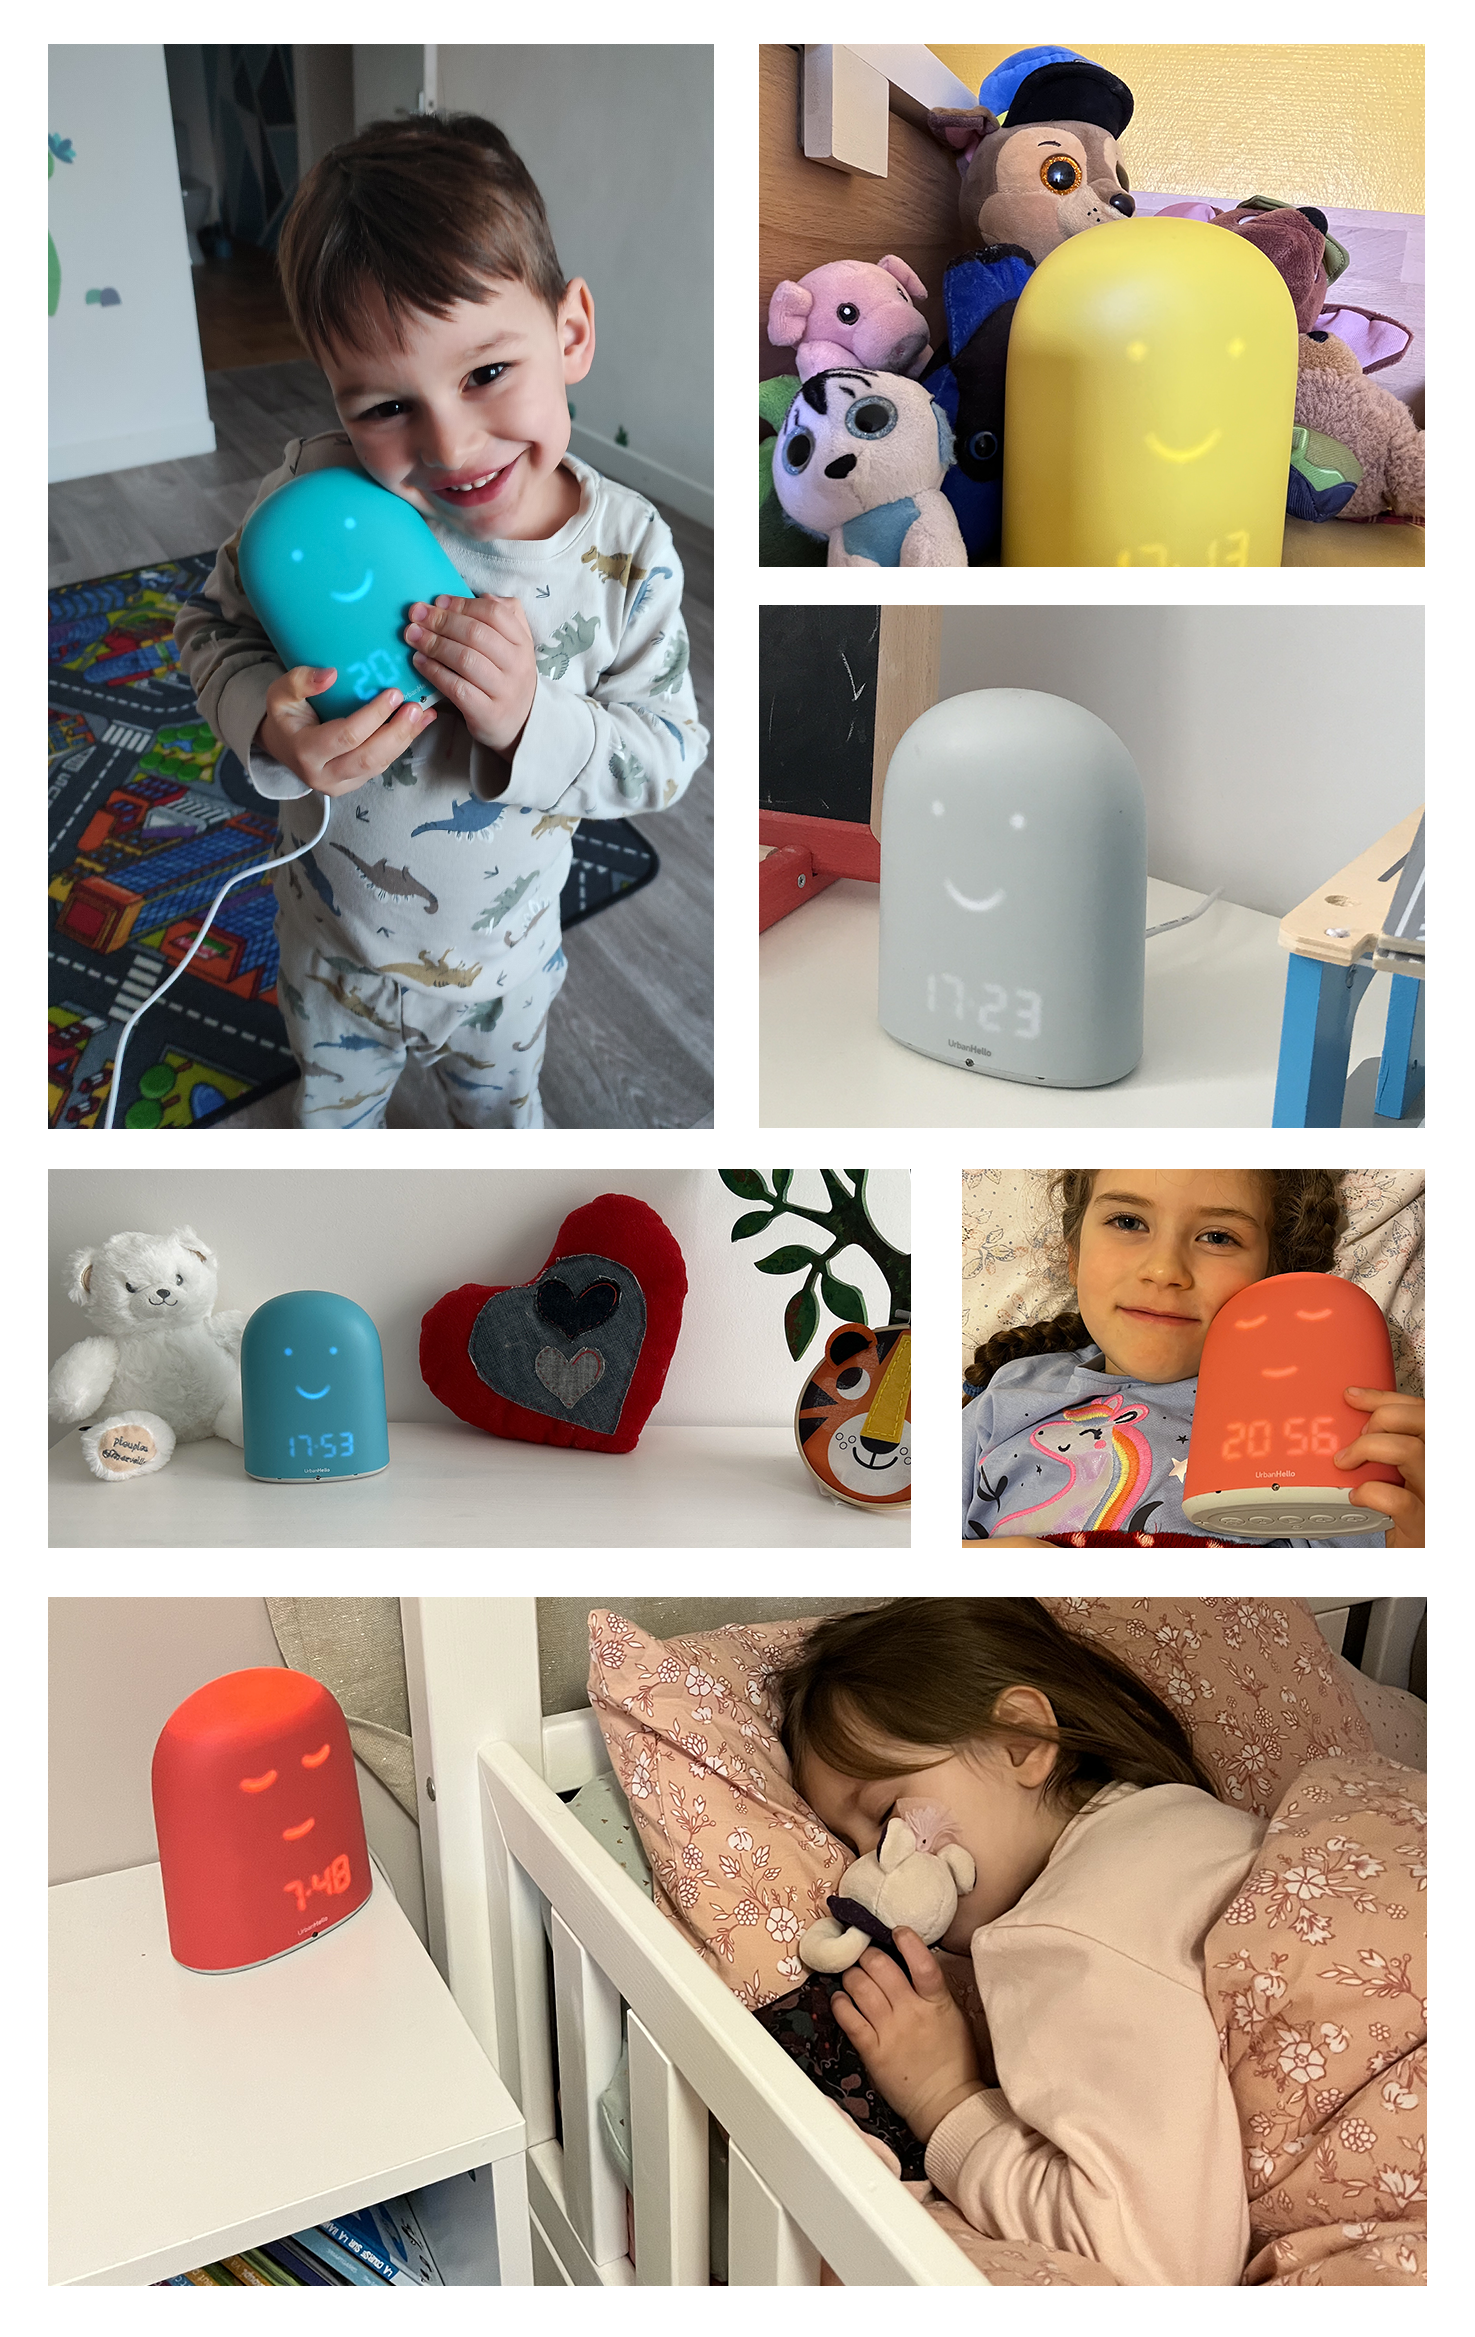
I bought REMI for my 4-year-old son who didn’t want to sleep alone anymore after his little sister was born. Thanks to the remote wake-up system and bedtime stories I can play from a distance, the issue is completely resolved! I 100% recommend this purchase!
I bought REMI for my 4-year-old son who didn’t want to sleep alone anymore after his little sister was born. Thanks to the remote wake-up system and bedtime stories I can play from a distance, the issue is completely resolved! I 100% recommend this purchase!

ConsoBaby Review
- Pauline F. -


 My Child Won’t Sleep Alone: How to Help Them Gain Independence
 Letting Baby Cry It Out: Effective, But At What Cost?
 White noise for baby : a scientific research !
 What are the positive effects of napping on memory?
 What Time Should Your Child Go to Bed? The Ideal Bedtime by Age!